Level 2 EV Charger Installation Guide for Sacramento Homeowners
What to Expect When Installing a Level 2 EV Charger at Home
Installing a Level 2 EV charger at home involves more than choosing a charger and connecting it to the electrical system. The process typically begins with understanding your charging needs and evaluating the home's existing electrical system, followed by decisions about charger location, circuit requirements, equipment, and any applicable permitting or inspection requirements. This guide walks Sacramento homeowners through the major steps involved in planning a Level 2 EV charger installation and explains what to consider along the way.
Start With Your Vehicle and Daily Charging Needs
Planning a Level 2 EV charger installation should begin with the vehicle and how it is normally used. Different electric vehicles can accept different amounts of AC charging power, so installing the highest-powered charger available does not necessarily mean the vehicle will charge any faster. Understanding the vehicle's charging capabilities provides a useful starting point for determining an appropriate home charging setup.
Daily driving habits matter as well. A homeowner who drives a relatively short distance each day may need to replace only a modest amount of energy overnight, while someone with a longer commute or frequent daily driving may benefit from faster home charging. The goal is to have enough charging capacity to reliably replenish the vehicle during the time it is normally parked at home.
Charging time is another part of the equation. Many EVs remain parked overnight for several hours, which can provide plenty of time to restore the energy used during a typical day without charging at the vehicle's maximum possible rate. Households with less predictable schedules or greater daily mileage may place a higher value on faster charging.
It can still be useful to think beyond the vehicle currently in the driveway. A future EV may have different charging capabilities, so decisions about charger location, electrical capacity, and equipment can reasonably consider how the charging setup might be used over time. That does not mean the installation needs to be oversized for an unknown future vehicle.
Defining these needs before planning the electrical work helps establish what the charging system actually needs to accomplish. From there, the home's electrical system can be evaluated against a realistic charging requirement rather than automatically designing the installation around the highest charging power available.
Evaluate the Home's Existing Electrical System
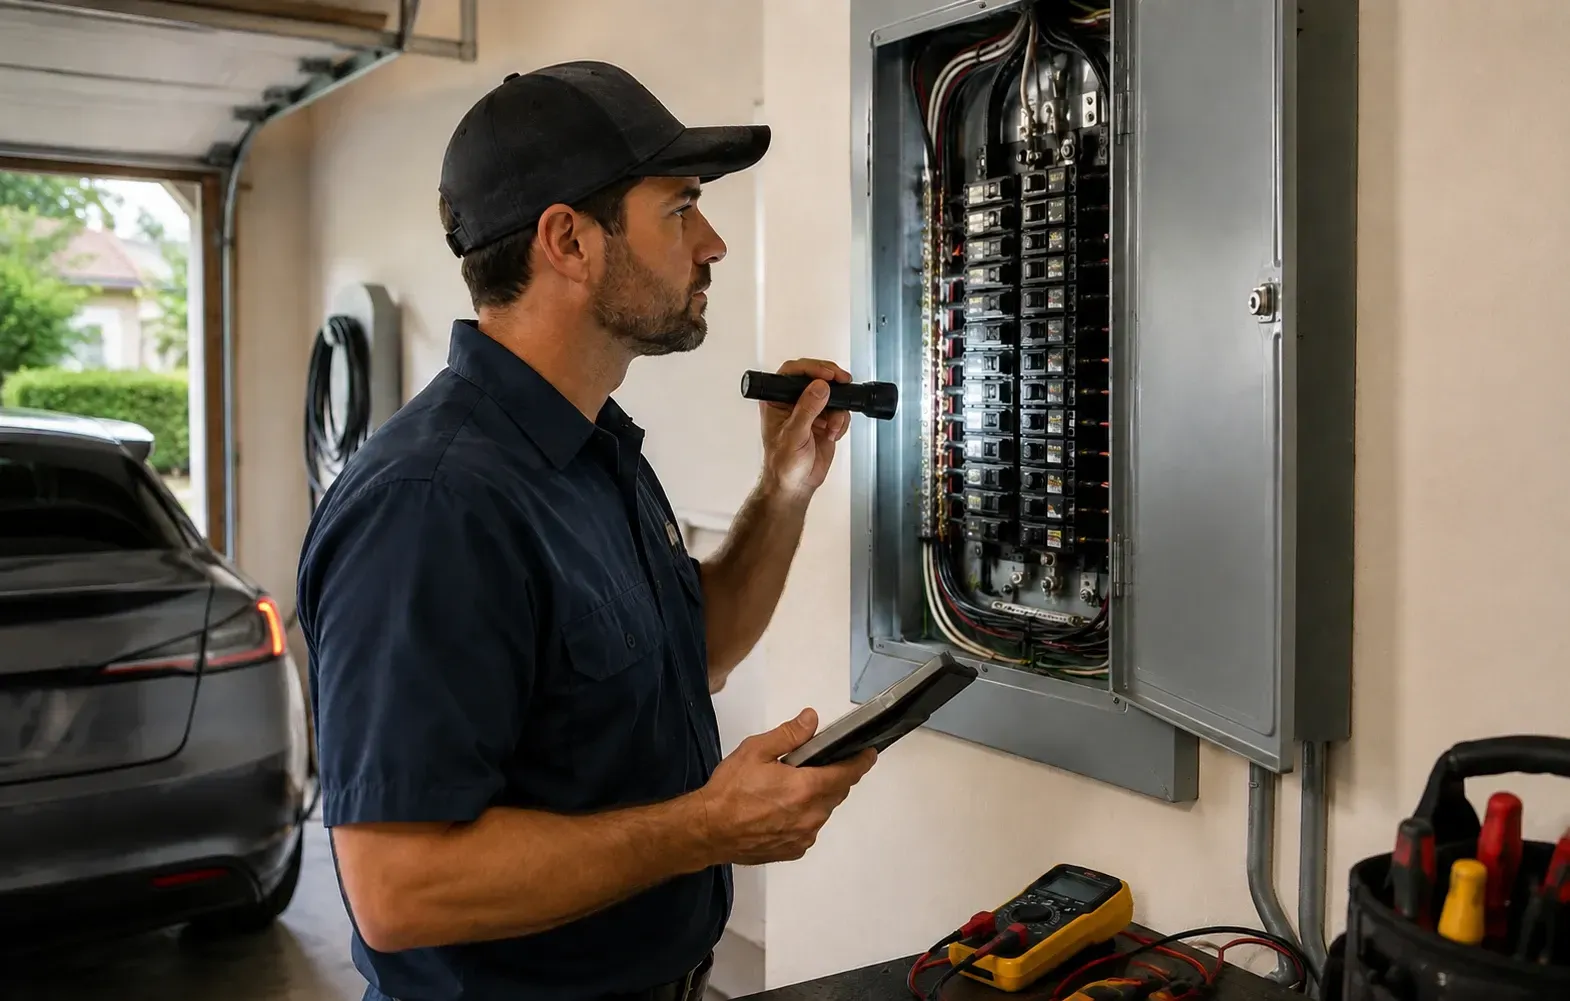
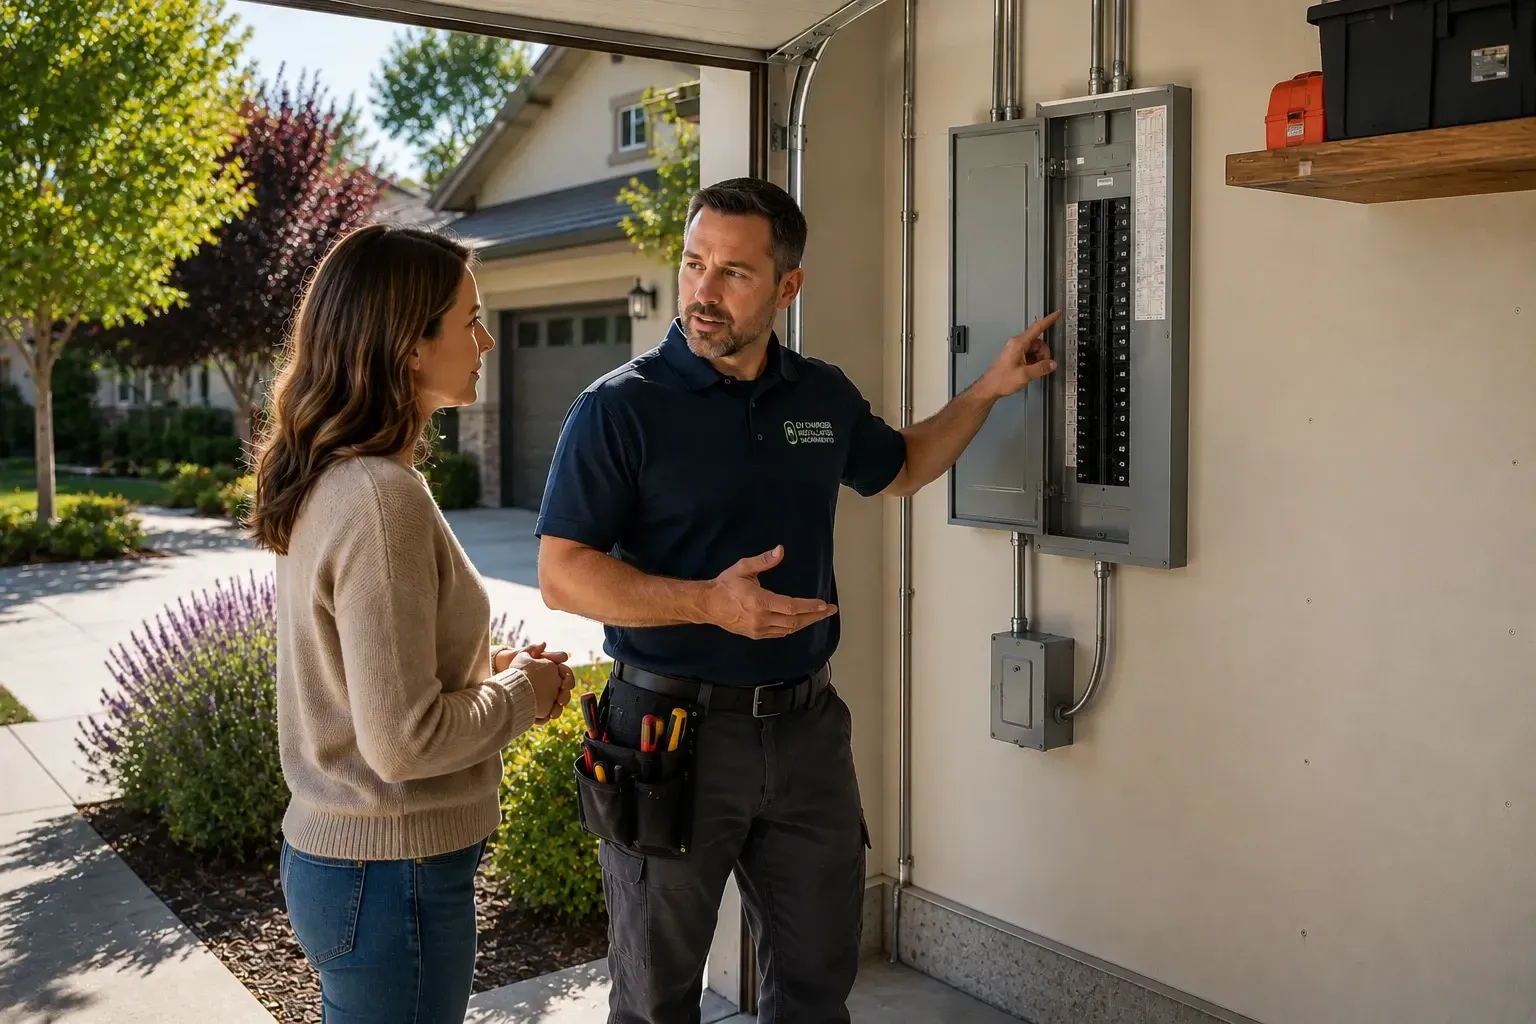
Once the charging needs are understood, the next step is to evaluate the home's existing electrical system. A Level 2 charger adds a significant electrical load, so the installation needs to be planned around what the home's service and electrical panel can safely support along with the loads already being served.
The electrical panel provides important information, including the service rating, existing circuits, breaker configuration, and available breaker space. However, the panel's rating or the presence of an unused breaker position does not by itself determine whether there is sufficient capacity for the planned EV charging circuit. The home's existing electrical demand also needs to be considered.
Major electrical loads such as heating and cooling equipment, electric water heating, cooking appliances, clothes dryers, pool equipment, and other significant loads can affect how much capacity is available for EV charging. Changes made to the home over time can matter as well, particularly when appliances, additions, solar equipment, or other electrical systems have been added since the original installation.
The condition and configuration of the existing electrical equipment should also be part of the evaluation. Previous electrical work, older equipment, panel limitations, or other site-specific conditions may affect how the new charging circuit can be installed. In many homes, the existing electrical system may be able to support the planned charger without major changes; in others, additional electrical work may need to be considered.
Completing this evaluation before finalizing the charger power and circuit design establishes what the home can reasonably support. That information then helps determine the appropriate charging configuration and provides the foundation for planning the location and electrical route for the new Level 2 charger.
Choose a Practical Location for the Charger
Once the home's electrical system has been evaluated, the next step is deciding where the Level 2 charger should be installed. The location needs to work for the electrical installation, but it should also make charging convenient for the way the vehicle is normally parked and used.
Start with the vehicle's usual parking position and the location of its charging port. The charger's cable should comfortably reach the charging port without being stretched tightly or requiring the vehicle to be parked in an awkward position. Thinking about how the cable will travel between the charger and vehicle can help identify a practical mounting location.
Cable placement matters when the charger is not in use as well. A good location provides a convenient way to store the charging cable and connector without routinely leaving them across a walkway, driveway, or other frequently used area. Reducing unnecessary tripping hazards and keeping the charging equipment easy to access should be part of the placement decision.
The distance and route from the electrical panel also need to be considered. A charger close to the panel may require a simpler circuit route, but the closest available wall is not automatically the best charging location. Finished walls, doorways, storage areas, and other obstacles can influence both the electrical route and where the charger can reasonably be mounted.
Indoor and outdoor locations present different considerations. An attached garage may provide a protected installation area, while a driveway, exterior wall, or carport may expose the equipment and electrical components to weather. For an outdoor installation, the charging equipment and installation need to be appropriate for the conditions where they will be used.
The best location balances the electrical route with everyday usability. Choosing the mounting position before the circuit is planned in detail allows cable reach, parking position, accessibility, weather exposure, and the path back to the electrical panel to be considered together rather than treating charger placement as an afterthought.
Plan the Electrical Circuit and Route
With the charging requirements and charger location established, the electrical circuit can be planned around the needs of the charging equipment. A Level 2 EV charger generally requires a dedicated 240-volt circuit, and the circuit needs to be designed for the charging configuration that will actually be used.
The charger's power requirements affect the electrical components needed for that circuit. Circuit breaker size, conductor requirements, and the charging equipment's allowable settings all need to work together. Because EV charging places a sustained demand on the electrical system, the circuit should be designed specifically for the charging load rather than simply based on the maximum output advertised for the charger.
The route from the electrical panel to the charger is another important part of the plan. A relatively short run across an accessible garage may be straightforward, while reaching another part of the home can involve finished walls, attics, crawl spaces, exterior surfaces, or other areas that require a different approach.
The shortest physical distance is not always the most practical circuit route. Structural features, existing utilities, accessibility, and the way wiring or conduit can be appropriately installed may make another path preferable. For detached garages or charging locations away from the home, the route may also involve exterior or underground electrical work.
Planning the route also means considering how the electrical connection will reach the final charger location. Depending on the equipment and installation, that could involve conduit or other permitted wiring methods, mounting considerations, and a suitable point of connection for either hardwired charging equipment or a receptacle-based installation.
Once the circuit requirements and route are understood, the installation plan becomes much more concrete. The charger location, electrical demand, circuit design, and path back to the panel can then be considered as one system rather than as separate decisions.
Decide Between a Hardwired or Plug-In Installation
Level 2 charging equipment can be installed in different ways depending on the charger and the planned charging configuration. Some chargers are designed to be hardwired directly to the electrical circuit, while others can connect through an appropriate 240-volt receptacle. Some models support either installation method.
With a hardwired installation, the electrical circuit connects directly to the charging equipment without a plug and receptacle between them. This can provide a clean, permanent installation and may be particularly appropriate for higher-powered charging configurations or locations where a receptacle is not desirable. The charger still needs to be installed and configured according to its electrical requirements.
A plug-in charger connects to a compatible 240-volt receptacle installed for the charging equipment. This approach allows the charger itself to be disconnected without removing a permanent electrical connection, although that does not necessarily mean the equipment is designed for frequent relocation. The receptacle, circuit, and related components still need to be appropriate for the charging load.
Installation location can influence the decision as well. Indoor and outdoor installations may have different requirements, and the charger's listing and manufacturer's instructions can affect whether a particular installation method is permitted. The intended charging power and applicable electrical requirements should therefore be considered before deciding between hardwired and plug-in equipment.
Neither approach is automatically the right choice for every home. The decision should be based on the charging equipment, desired charging configuration, installation location, and electrical system rather than choosing a connection method in isolation. Once that decision is made, the circuit and charger installation can be planned around the selected method.
Determine Whether Additional Electrical Work Is Needed
After the home's electrical system and planned charging circuit have been evaluated, it should be possible to determine whether any additional electrical work is needed before the Level 2 charger can be installed. In many homes, the existing system may be able to support the planned charging load with the addition of the appropriate dedicated circuit.
Other installations may require changes before the charging circuit can be added. Limited available electrical capacity, panel configuration, equipment condition, or other existing electrical limitations can affect what work is needed. The specific issue identified during the evaluation should guide the solution rather than assuming that every limitation requires the same type of upgrade.
In some situations, adjusting the planned charging power may allow the installation to work appropriately with the home's available electrical capacity while still providing enough charging for everyday driving. Energy or load management technology may also be an option for some installations when available capacity is limited.
Other homes may need modifications to the existing electrical equipment, and in some cases a panel or electrical service upgrade may be appropriate. The need for that work should be based on the condition and capacity of the electrical system and the requirements of the planned charging installation—not simply the age or amperage rating shown on the panel.
Resolving these questions before the charger installation moves forward establishes the electrical foundation for the project. Once the necessary electrical work and charging configuration have been determined, the installation can proceed based on what the home can safely support rather than assumptions about what should be required.
Address Permits and Inspection Requirements
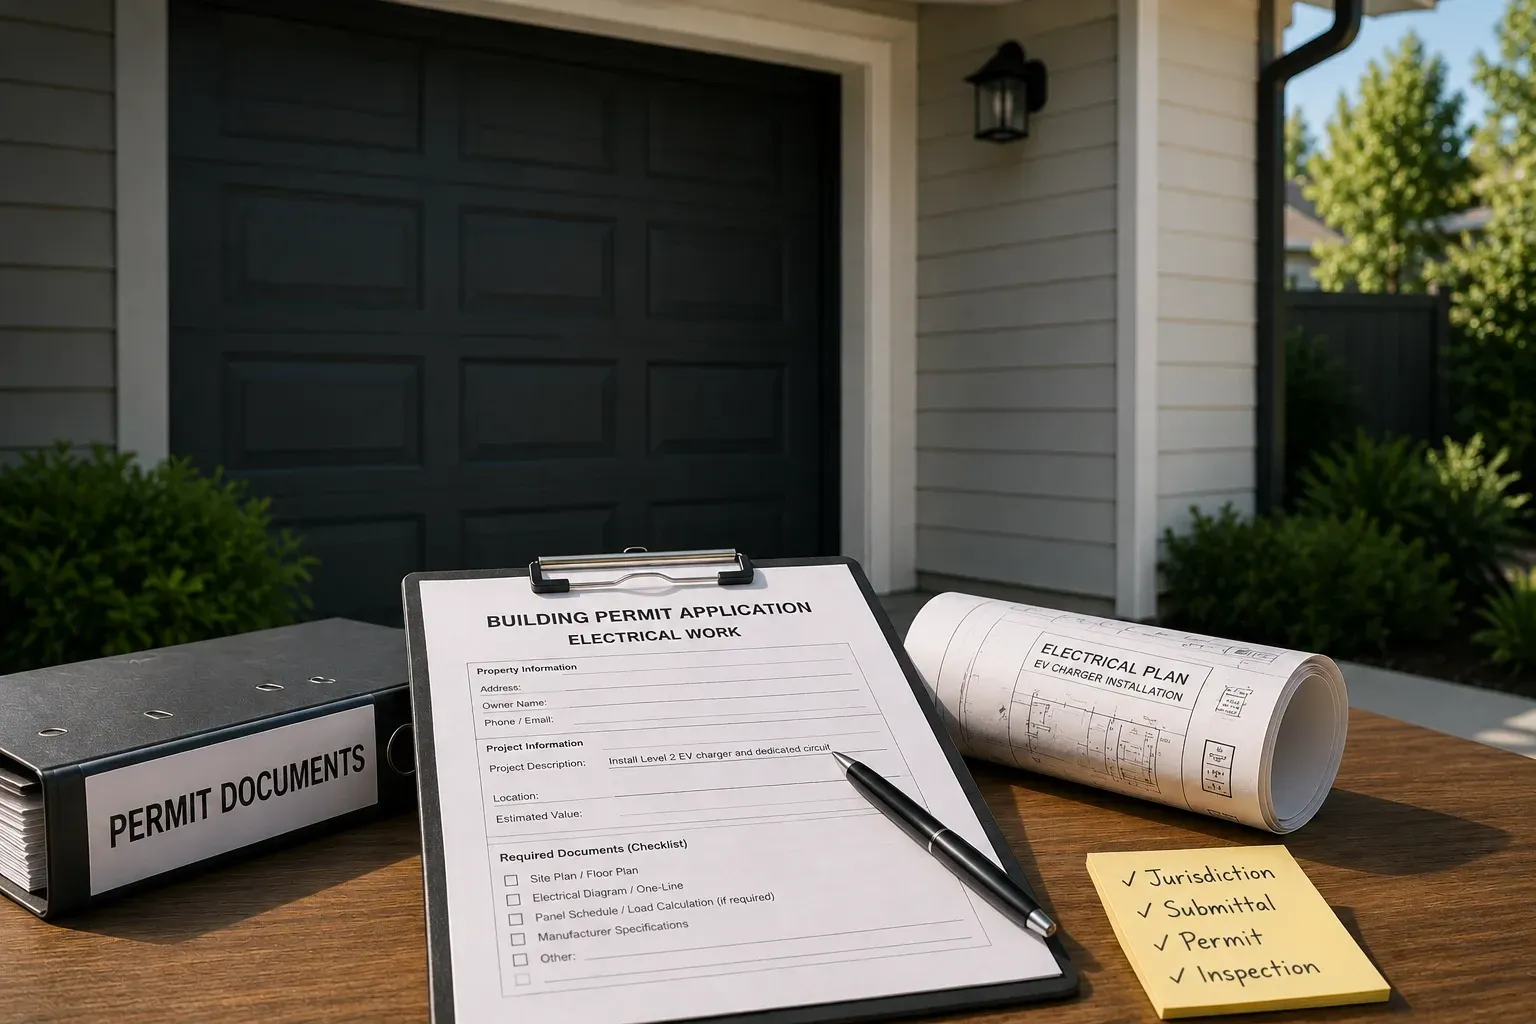
Once the scope of the electrical work is understood, the applicable permit and inspection requirements can be addressed. A Level 2 EV charger installation typically involves electrical work that may be subject to permitting and inspection requirements, so this step should be considered before installation begins rather than after the charging equipment has been installed.
For Sacramento-area homeowners, the first consideration is which authority has jurisdiction over the property. A home within the City of Sacramento may follow a different permitting process from a property in unincorporated Sacramento County, and surrounding cities may have their own requirements and procedures. The property's mailing address alone should not be used to assume which jurisdiction applies.
The type of work being performed can also affect the permitting process. Installing a new dedicated charging circuit, adding a 240-volt receptacle, hardwiring charging equipment, or making other electrical modifications may involve different project details that need to be reflected in the permit application. If additional panel or service work is part of the project, that work also needs to be considered.
When an inspection is required, it provides an opportunity for the completed electrical work to be reviewed for compliance with the applicable requirements. Permit issuance, installation, and inspection should therefore be treated as connected parts of the project rather than separate administrative tasks.
Because local procedures, fees, and requirements can change, the current requirements for the specific property and project should be verified with the appropriate authority before work begins. Doing so helps establish the correct permitting path and reduces the likelihood of avoidable delays as the Level 2 charger installation moves toward completion.
See our Common Question on EV Charger Permits
Install and Configure the Charging Equipment
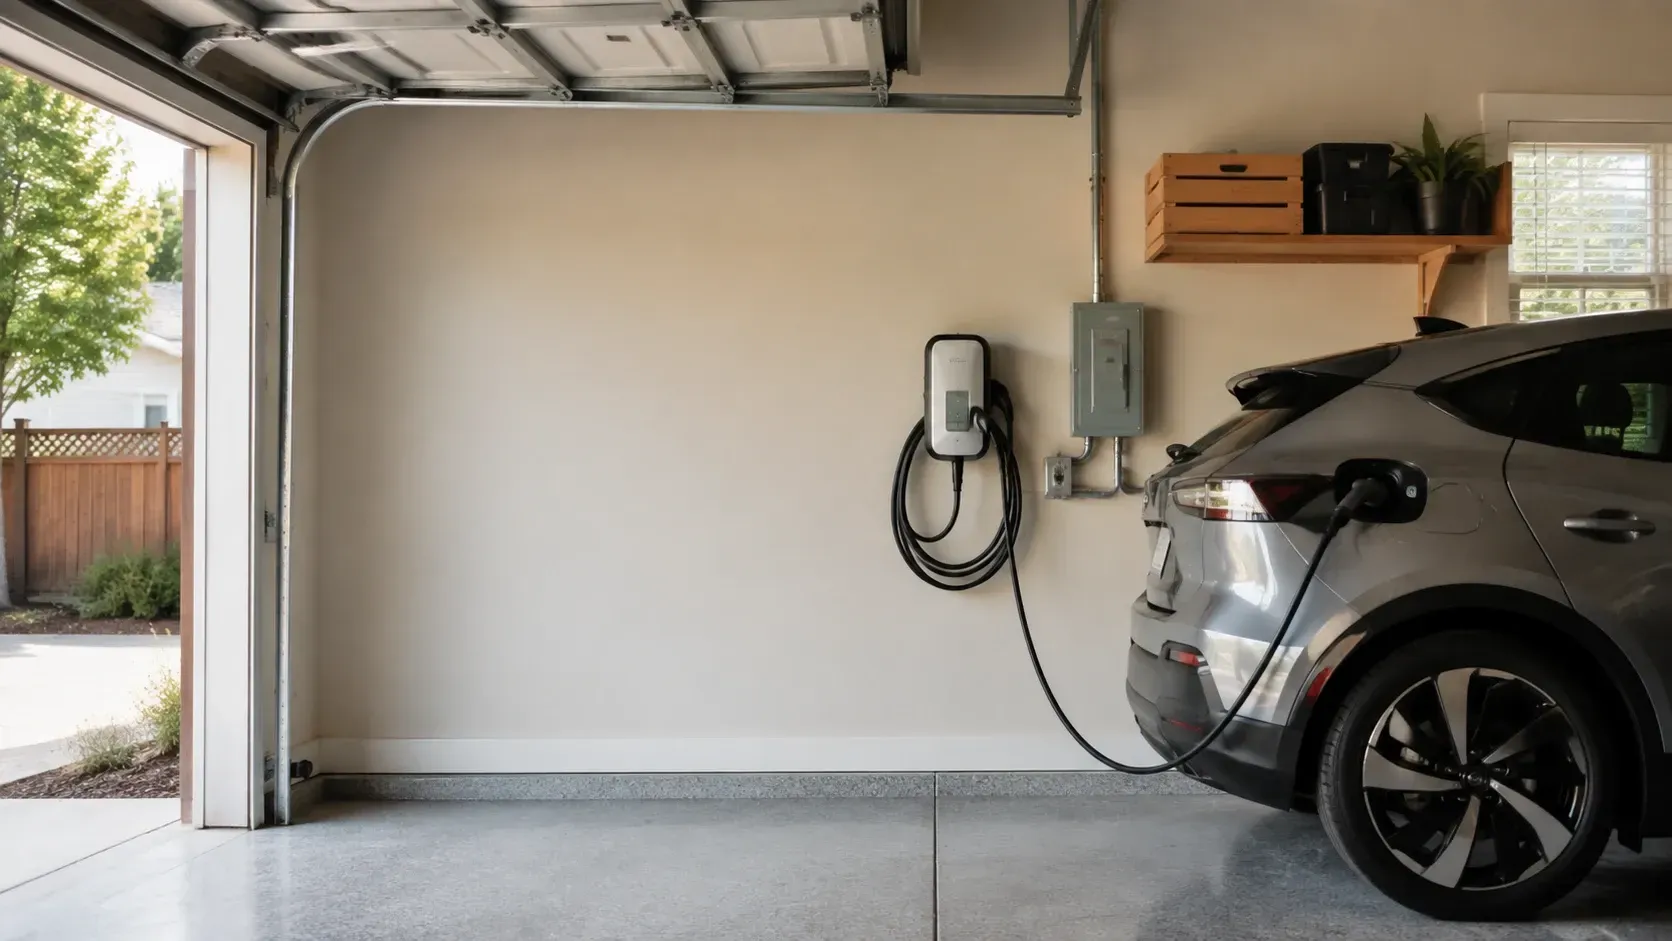
With the electrical requirements, charger location, circuit design, and applicable permitting addressed, the Level 2 charging equipment can be installed. The charger should be mounted in the planned location where it can be conveniently reached from the vehicle while allowing the charging cable and connector to be stored appropriately when not in use.
The electrical connection will depend on whether the charger is being hardwired or connected through an appropriate 240-volt receptacle. In either case, the charging equipment, circuit, electrical components, and installation method need to be compatible with one another and follow the charger's installation instructions and applicable electrical requirements.
Many Level 2 chargers can operate at more than one charging power level. When applicable, the charger needs to be configured so that its charging current corresponds to the electrical circuit that was installed for it. The fact that a charger is capable of a higher maximum output does not mean it should be configured above what the installed circuit is designed to support.
Chargers with connected or smart features may require additional setup after the electrical installation is complete. Depending on the equipment, this can include connecting the charger to a home network, completing manufacturer setup through an app or website, installing firmware updates, or selecting charging and scheduling preferences. These features vary by charger and are separate from establishing the correct electrical configuration.
Once the equipment is mounted, electrically connected, and properly configured, the physical installation is essentially complete. The next step is to verify that the charger and vehicle operate together as expected and that any remaining inspection requirements have been completed before the installation moves into everyday use.
Verify the Installation and Charging Operation
After the Level 2 charger has been installed and configured, the completed installation should be checked to confirm that the equipment operates as intended. This includes verifying that the charger powers up normally and that its indicators, display, or connected app do not report a fault or installation problem.
The vehicle can then be connected to confirm that charging begins normally. The charger and vehicle should recognize one another, and the vehicle should indicate that it is receiving power. If charging information is available through the vehicle or charger, it can also help confirm that the charging session is operating as expected.
The charger's electrical configuration should correspond to the circuit provided for the installation. This is particularly important for chargers capable of operating at multiple power levels. Verification helps ensure that the charging equipment is operating at the configuration established for the installed circuit rather than simply relying on the charger's maximum available setting.
The completed installation should also be reviewed as a whole. The charger should be securely mounted, the charging cable should reach the vehicle comfortably, and the connector and cable should have a practical place to be stored when not in use. Any required electrical inspection should also be completed as part of finishing the project.
Once the installation has been verified and any required inspection completed, the Level 2 charger is ready for regular use. Taking the time to confirm both charging operation and the practical details of the installation helps ensure that the system installed on the wall works as intended in everyday use.
Understand Your Charger Before Everyday Use
Before settling into everyday charging, take some time to become familiar with how the Level 2 charger operates. Understand its status lights or display, how charging sessions begin and end, and what the charger indicates if it detects a fault or other condition requiring attention. The manufacturer's instructions are a useful reference for features and indicators specific to the equipment.
If the charger includes an app or connected features, homeowners may also have options for viewing charging activity, scheduling charging sessions, receiving notifications, or adjusting other preferences. These capabilities vary by charger, and not every feature needs to be used for the equipment to provide convenient home charging.
Charging schedules can be particularly useful when electricity rates vary by time of day or when a utility offers an EV-specific rate plan. Depending on the vehicle and charging equipment, scheduling may be handled by the charger, the vehicle, or both. Homeowners should understand which system is controlling the charging schedule so that overlapping settings do not create unnecessary confusion.
It is also useful to know where the charger's circuit breaker is located and how to recognize when the charging equipment is reporting a problem. If the charger repeatedly stops charging, reports a fault, trips the circuit breaker, or shows other unusual behavior, the cause should be investigated rather than repeatedly resetting the equipment and continuing to use it.
Once the homeowner understands the charger's basic operation, settings, and normal charging behavior, the installation can become a routine part of owning an EV. A properly planned Level 2 charging setup should make arriving home, connecting the vehicle, and having it ready for the next drive a simple part of everyday life.
Conclusion
Installing a Level 2 EV charger at home involves a series of decisions that work together. Understanding the vehicle's charging needs, evaluating the home's electrical system, choosing a practical charger location, and planning the appropriate circuit all help establish the foundation for a successful installation.
The installation also needs to account for the charging equipment, electrical capacity, connection method, and any additional electrical work, permitting, or inspection requirements that apply to the project. Addressing these considerations before and during installation helps ensure that the charger is properly configured for the electrical system and works as intended with the vehicle.
For Sacramento homeowners, a well-planned Level 2 charging installation should provide convenient and reliable charging that fits both the home and everyday driving needs. Taking the project step by step—from initial planning through installation, verification, and setup—makes it easier to understand what the installation requires and how each decision contributes to a practical home charging solution.
How long does it take to install a Level 2 EV charger?
Installation time depends on the home's electrical system, charger location, circuit route, and whether additional electrical work is required. A straightforward installation may require considerably less work than a project involving a long circuit run, panel modifications, or other electrical improvements.
Does a Level 2 EV charger need a dedicated circuit?
A Level 2 EV charger generally requires a dedicated 240-volt circuit designed for the charger's electrical requirements. The circuit and charger configuration need to work together so the charging equipment operates within the capacity of the installed circuit.
Can any home support a Level 2 EV charger?
Many homes can support Level 2 charging, but the appropriate charging configuration depends on the home's electrical system and available capacity. If capacity is limited, options may include a lower charging power, an approved energy or load management solution, or additional electrical work.
Is a hardwired or plug-in EV charger better?
Neither installation method is automatically better for every home. The appropriate choice depends on the charging equipment, desired charging power, installation location, electrical requirements, and how the charger will be used.
Where should a Level 2 EV charger be installed?
A practical location should allow the charging cable to comfortably reach the vehicle's charging port while providing convenient cable storage and everyday access. The route from the electrical panel, indoor or outdoor conditions, parking position, and potential obstacles should also be considered.
Do I need a permit to install a Level 2 EV charger in Sacramento?
Permit requirements depend on the electrical work being performed and the jurisdiction responsible for the property. Homeowners should verify the current requirements for the City of Sacramento, unincorporated Sacramento County, or the applicable surrounding community before installation begins.
Learn more about EV Charger Permits
Contact Us
Contact Us - Resources Level 2 Guide
Planning a Level 2 EV charger installation for your Sacramento home?
Your vehicle, electrical capacity, charger location, circuit route, and equipment choice all help determine the appropriate installation approach. Call to discuss your project and the installation considerations that may apply to your home.